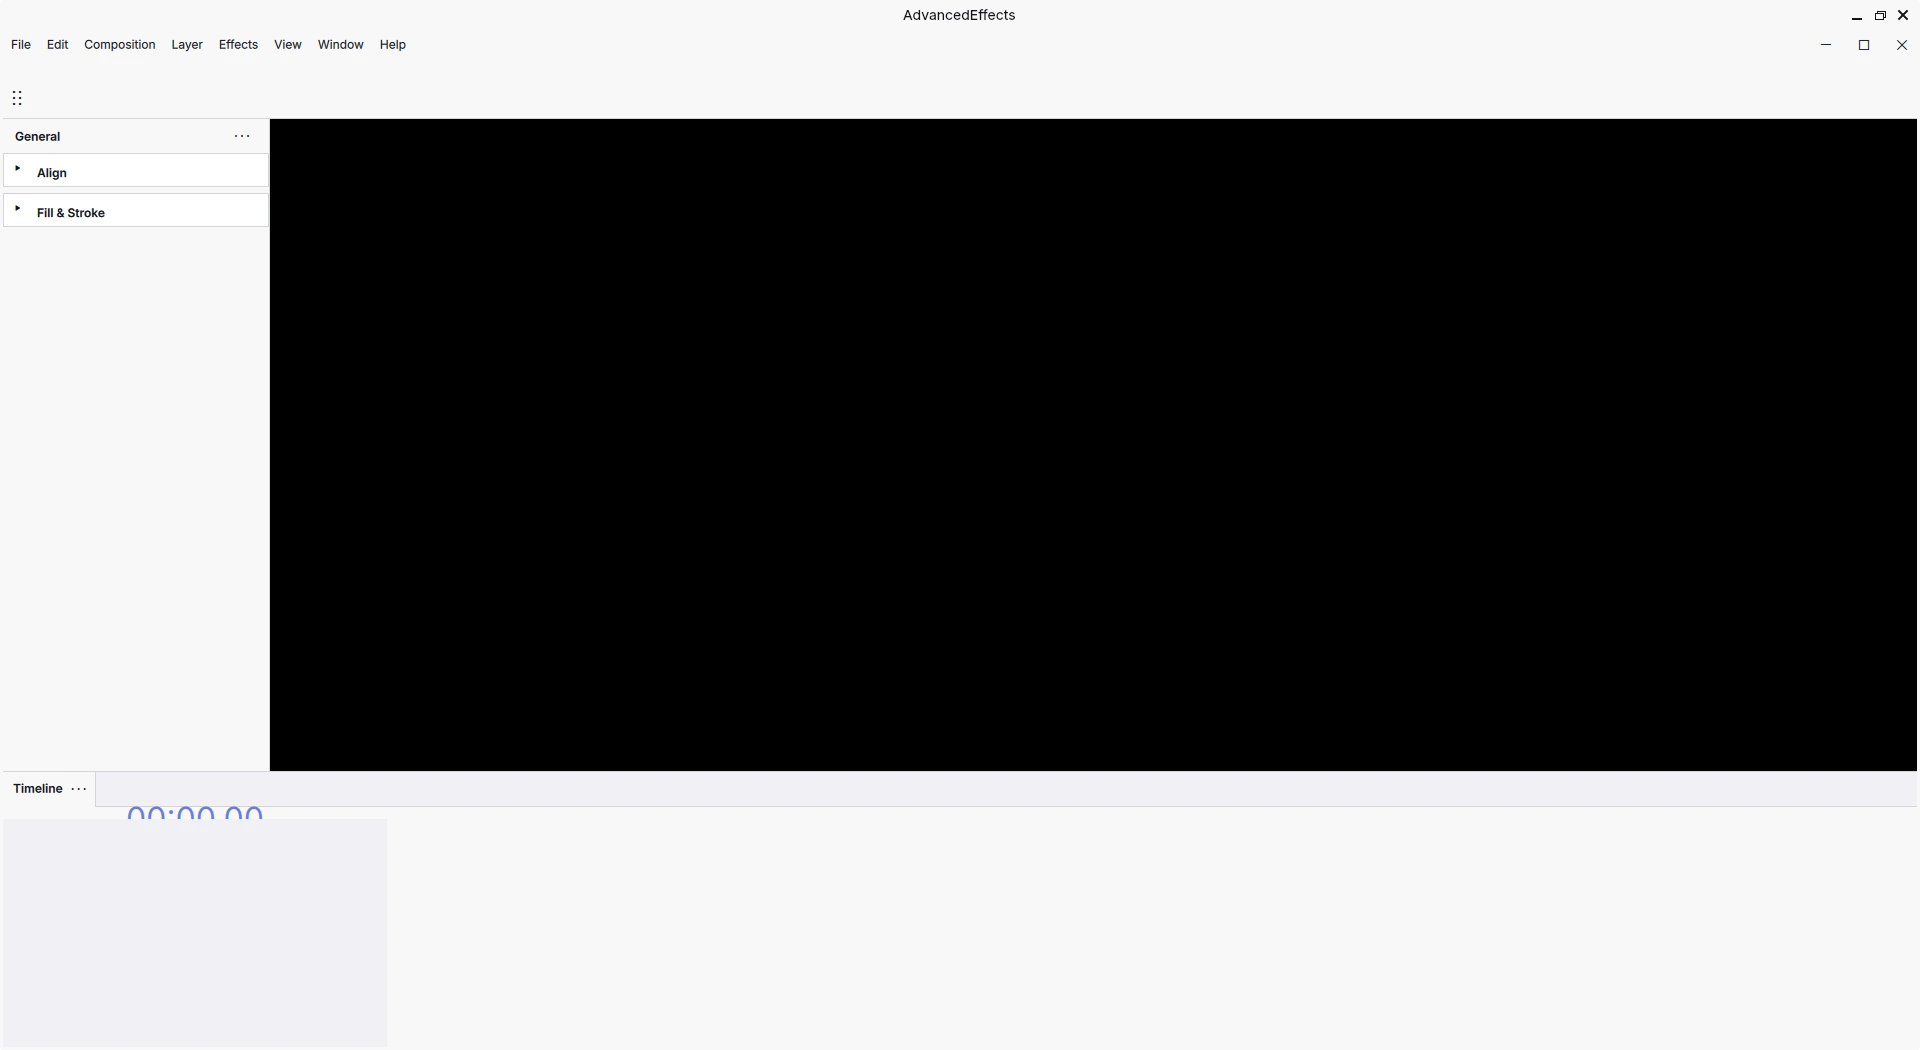
A screenshot of Advanced Effects, my own application based on this template, with a Menu and a Canvas.
When the MuseScore team decided to rewrite their entire UI to make it more modern, they rewritten it from Qt Widgets to a framework called QtQuick (or QML). This framework gives you more control over how the UI looks, with the contraposition that it's harder to make a UI that feels native to desktop.
So, since they planned on writing a desktop UI, they developed a set of components, UI components. These components are inside MuseScore's framework.
So, you want to write an application that feels modern? You don't need to write your own set of components, you can just use MuseScore's components!
We do it the same way MuseScore or Audacity does. We download the Muse framework folder and add it to our application.
We then create a usual Qt QML application, and load the framework's modules using the abstraction of IModuleSetup (more on that later).
Finally, in the UI code, we use MuseScore's widgets like DockWindow.
If you want to use Muse's components, you are required to make your app open source.
This application is licensed under GPL-3.0. That means you can technically profit from this app, but you must redistribute your changes to this app publicly under the same license (GPL3). This application was built thanks to dozens of people that prefered to keep the source open to everyone :) (MuseScore, Friction, Glaxnimate...)
- A document explaining the MuseScore source code + general tips on how to understand other people's code: Understand Source Code From Other People.
- Understand the app/ folder.
- Understand the appshell/ folder
- Understand the context/ folder.
We use a set of technologies. Understanding them will make working with this a lot, lot easier. It took me +3 months to finish this and make something compilable, but hopefully it's going to take you a lot less with the documentation I'm writing.
DO read-through these. Print if necessary. They will make development faster.
- C++ W3Schools.
- Think in React.
- CMake key concepts: https://cmake.org/cmake/help/book/mastering-cmake/chapter/Key%20Concepts.html
- QML positioning and layout: https://doc.qt.io/qt-6/qtquick-positioning-topic.html
- QML Module system: https://doc.qt.io/qt-6/qtqml-modules-topic.html
- QML State system: https://doc.qt.io/qt-6/qtquick-statesanimations-topic.html
1. Clone the repository: git clone https://github.com/Advanced-Effects/Muse-Qml-App-Template or Download it as a zip from github's UI.
2. Setup build environment: You will need a C++17 compiler like gcc, CMake, Ninja, and Qt6.
3. Get the dependencies: Get the Muse framework dependencies, OpenGL and glfw3.
4. Build the project:
-
Open the terminal, go into the project's location using
cd /Your/Project/location. -
Create a
builddirectory usingmkdir buildand go into itcd build -
Setup CMake
cmake .. -
Compile the project
cmake --build . -j<CPU CORES>