This project relies on the backend features of Firebase that work out of the box:
- user authentication;
- data storage with real-time updates ("Firestore");
- hosting for client files.
This repo contains 3 web projects:
client- client app written in TypeScript using React.js;functions- additional server logic written in TypeScript.shared- shared TypeScript code used by bothclientandfunctionsvia the@sharedimport alias.
The file package.json in the root directory contains NPM scripts to manage all these projects.
First, make sure you have installed node.js and npm (check the offical guide).
Also to run emulators locally, you will need to install Java 11+ (check the oracle site).
Then, to set up this project, from command line, run the install script:
npm installDuring install, the example Firebase config file will be copied. As the last step it will trigger Firebase setup.
Firebase requires a Firebase project, even when developing locally. To create a project, go to https://console.firebase.google.com/. The base plan is free. Add a "Web app" to your project and copy the Firebase SDK parameters to the file firebase-config.json, replacing example values. Then go back to command line to continue Firebase setup, and follow the prompts.
To develop locally with emulators, you only need the feature Emulators. Otherwise, to deploy to production, you will need all these:
 (*) Firestore
 (*) Realtime database
 (*) Functions
 (*) Hosting (Firebase hosting)
 (*) Emulators
The Firebase CLI tool will log in to your Google account and display your existing projects. Choose the project you created earlier.
The following emulators must be enabled:
 (*) Authentication Emulator
 (*) Functions Emulator
 (*) Firestore Emulator
 (*) Database Emulator
 (*) Hosting Emulator
After completing the above, rebuild your projects:
npm run build
To run the client:
npm run dev-clientTo run Firebase emulators:
npm run dev-serverClient code will hot-reload automatically as you change it. But Firebase functions must be rebuilt manually each time you change them:
npm --prefix functions run buildnpm run testLint with ESLint
npm run lintfirebase deployDuring deployment, firebase-config.json will be auto-updated to disable emulator, by setting "useEmulator": false.
Also note these additional values in firebase-config.json:
{
  // Firebase SDK parameters:
  "apiKey": ...

  // "webUrl" is used to populate html headers with .../banner.jpg:
  "webUrl": "https://my-app.web.app"
  // Needed to correctly deploy Cloud Function triggers for Realtime Database:
  "databaseName": "my-app-default-rtdb",
  // "region" controls where the Firebase Cloud Functions are hosted:
  "region": "europe-west1",
  // "useEmulator" controls whether the client should connect to the local emulator or to prod:
  "useEmulator": true,
  // How many active game lobbies are allowed at the same time:
  "maxActiveLobbies": 3
}In order to create card decks, you need to be an admin user. You can create a local admin user using Firebase emulators.
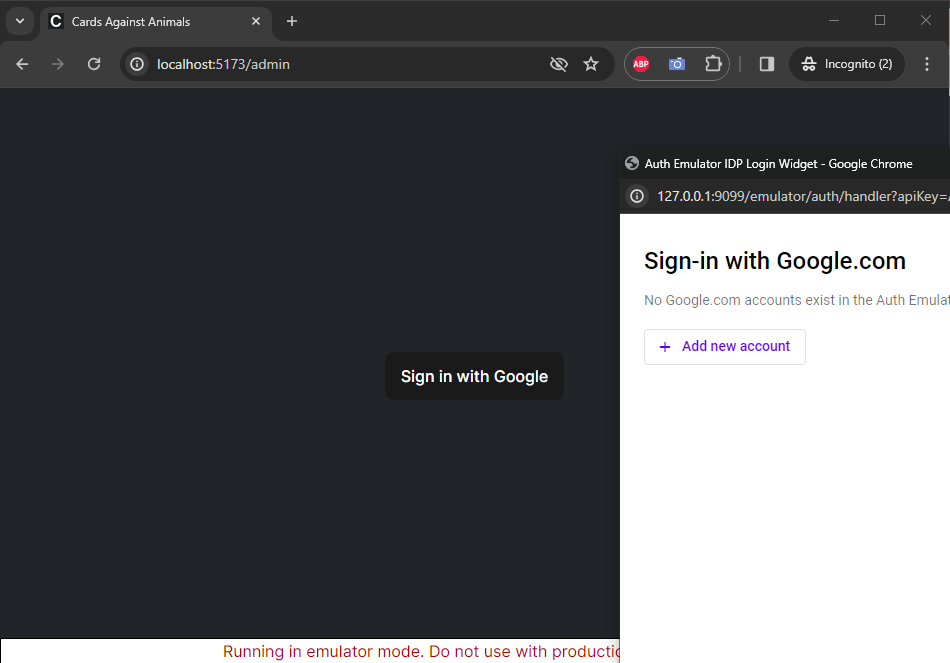
Run the client and emulators, go to http://localhost:5173/admin, and click "Sign in with Google". The emulator will offer you to create a mock local account. Use any made-up email address and username:
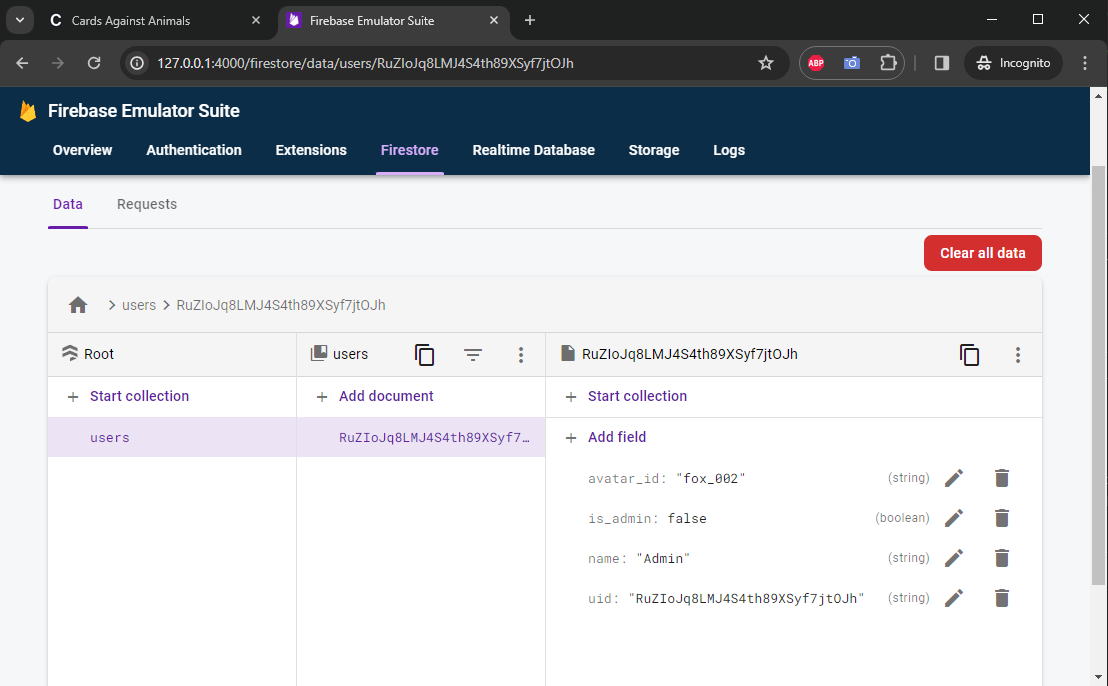
Go to you your Firestore emulator console at http://localhost:4000/firestore. You will see only one user with your name. Change the value is_admin to true:
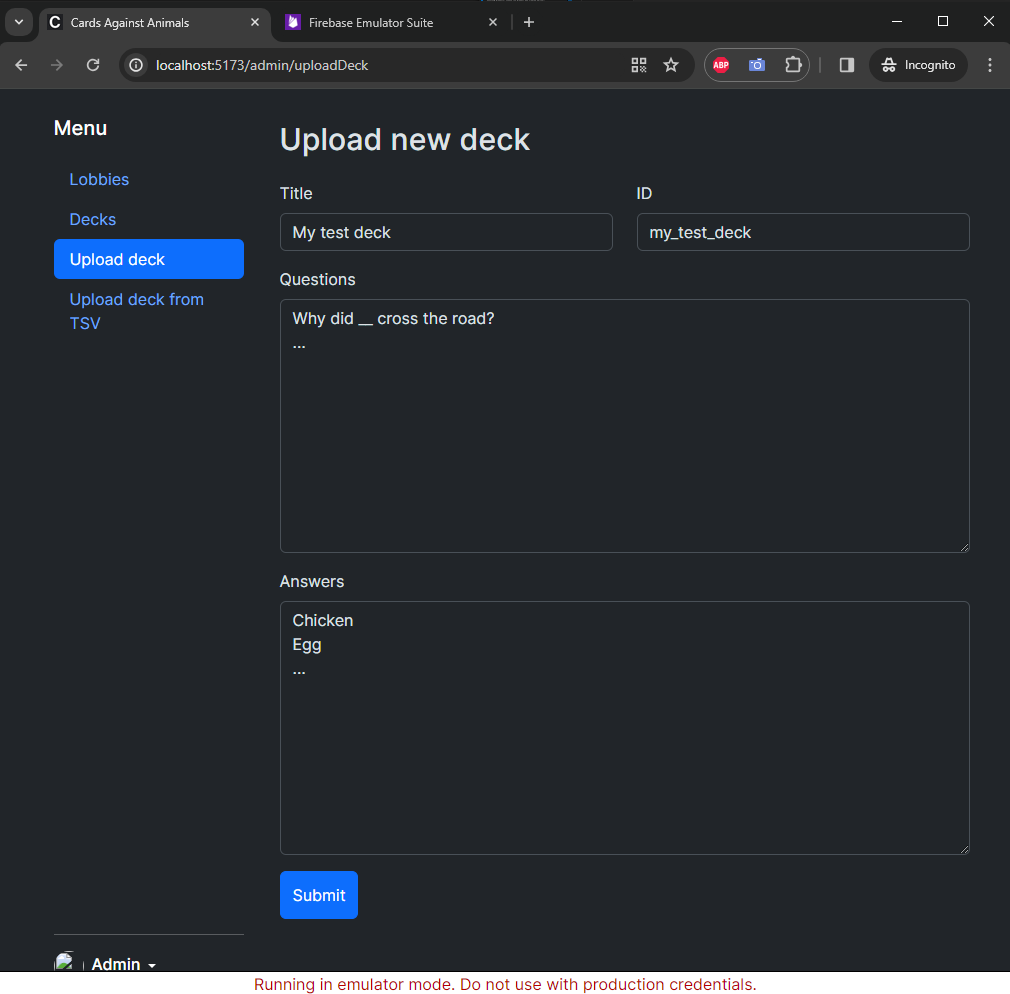
When logged in as a local admin user, you will have access to the admin console, and you can use it to upload decks at http://localhost:5173/admin/uploadDeck: