
 Catppuccin for daisyUI
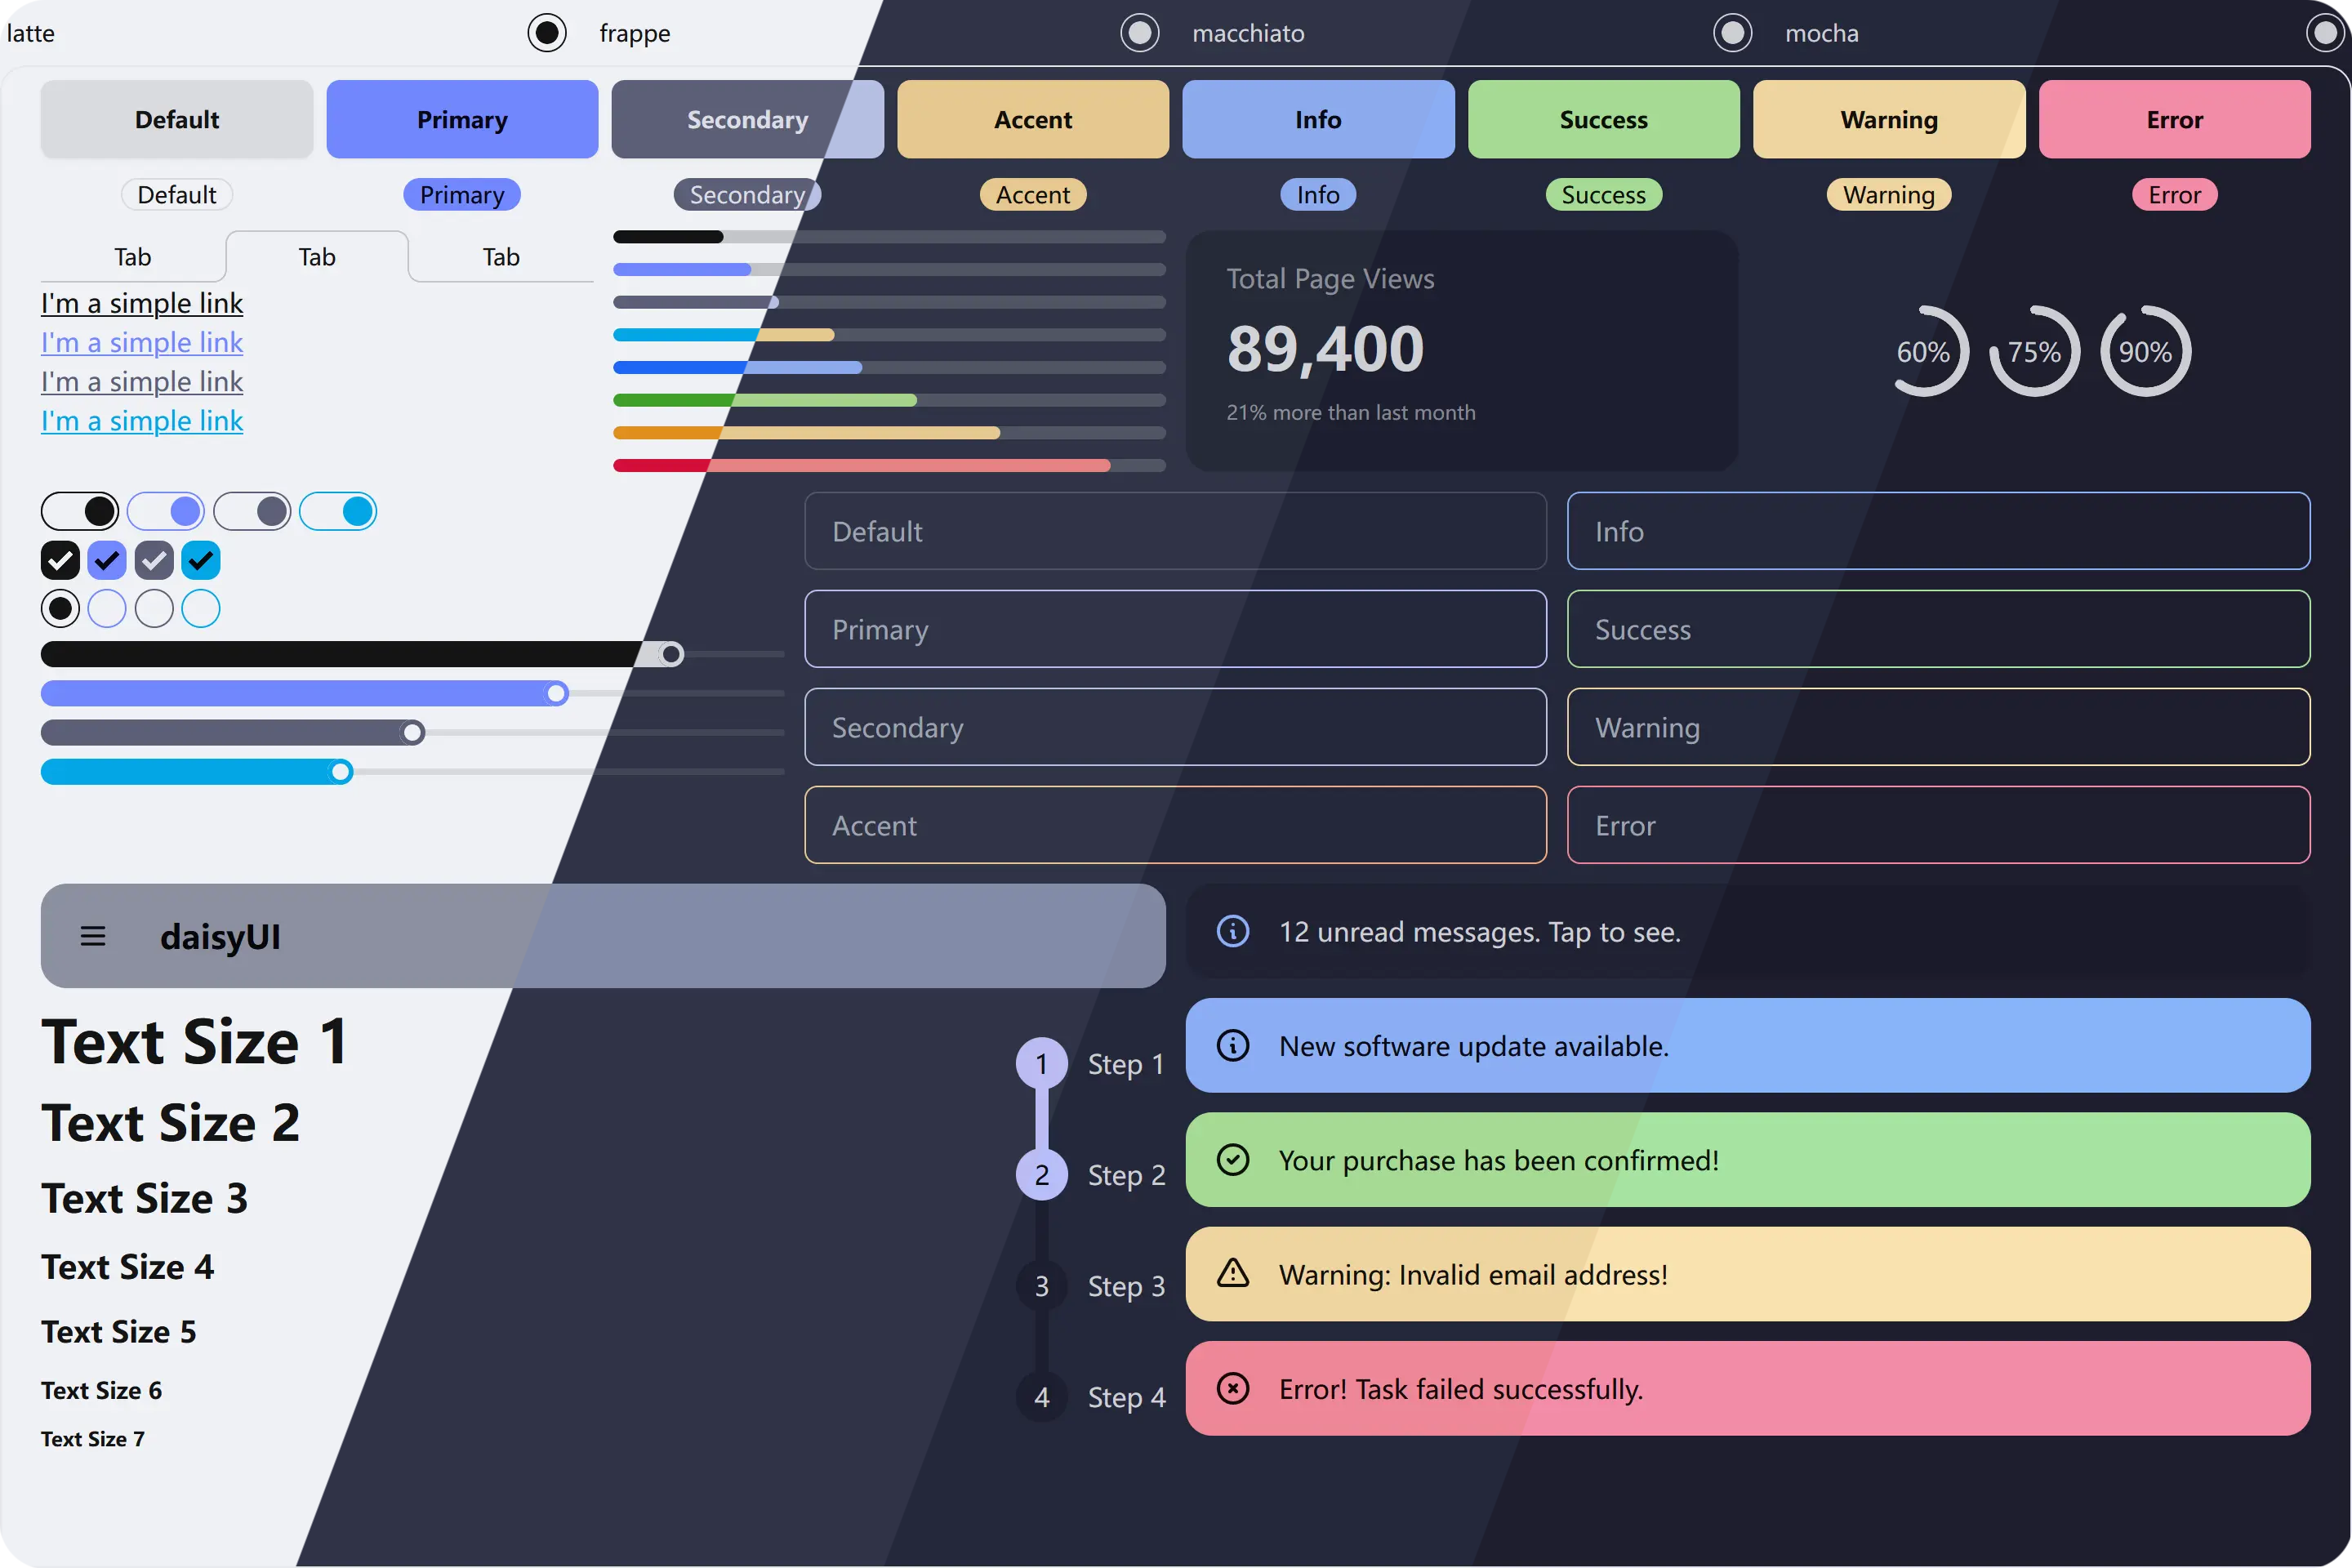
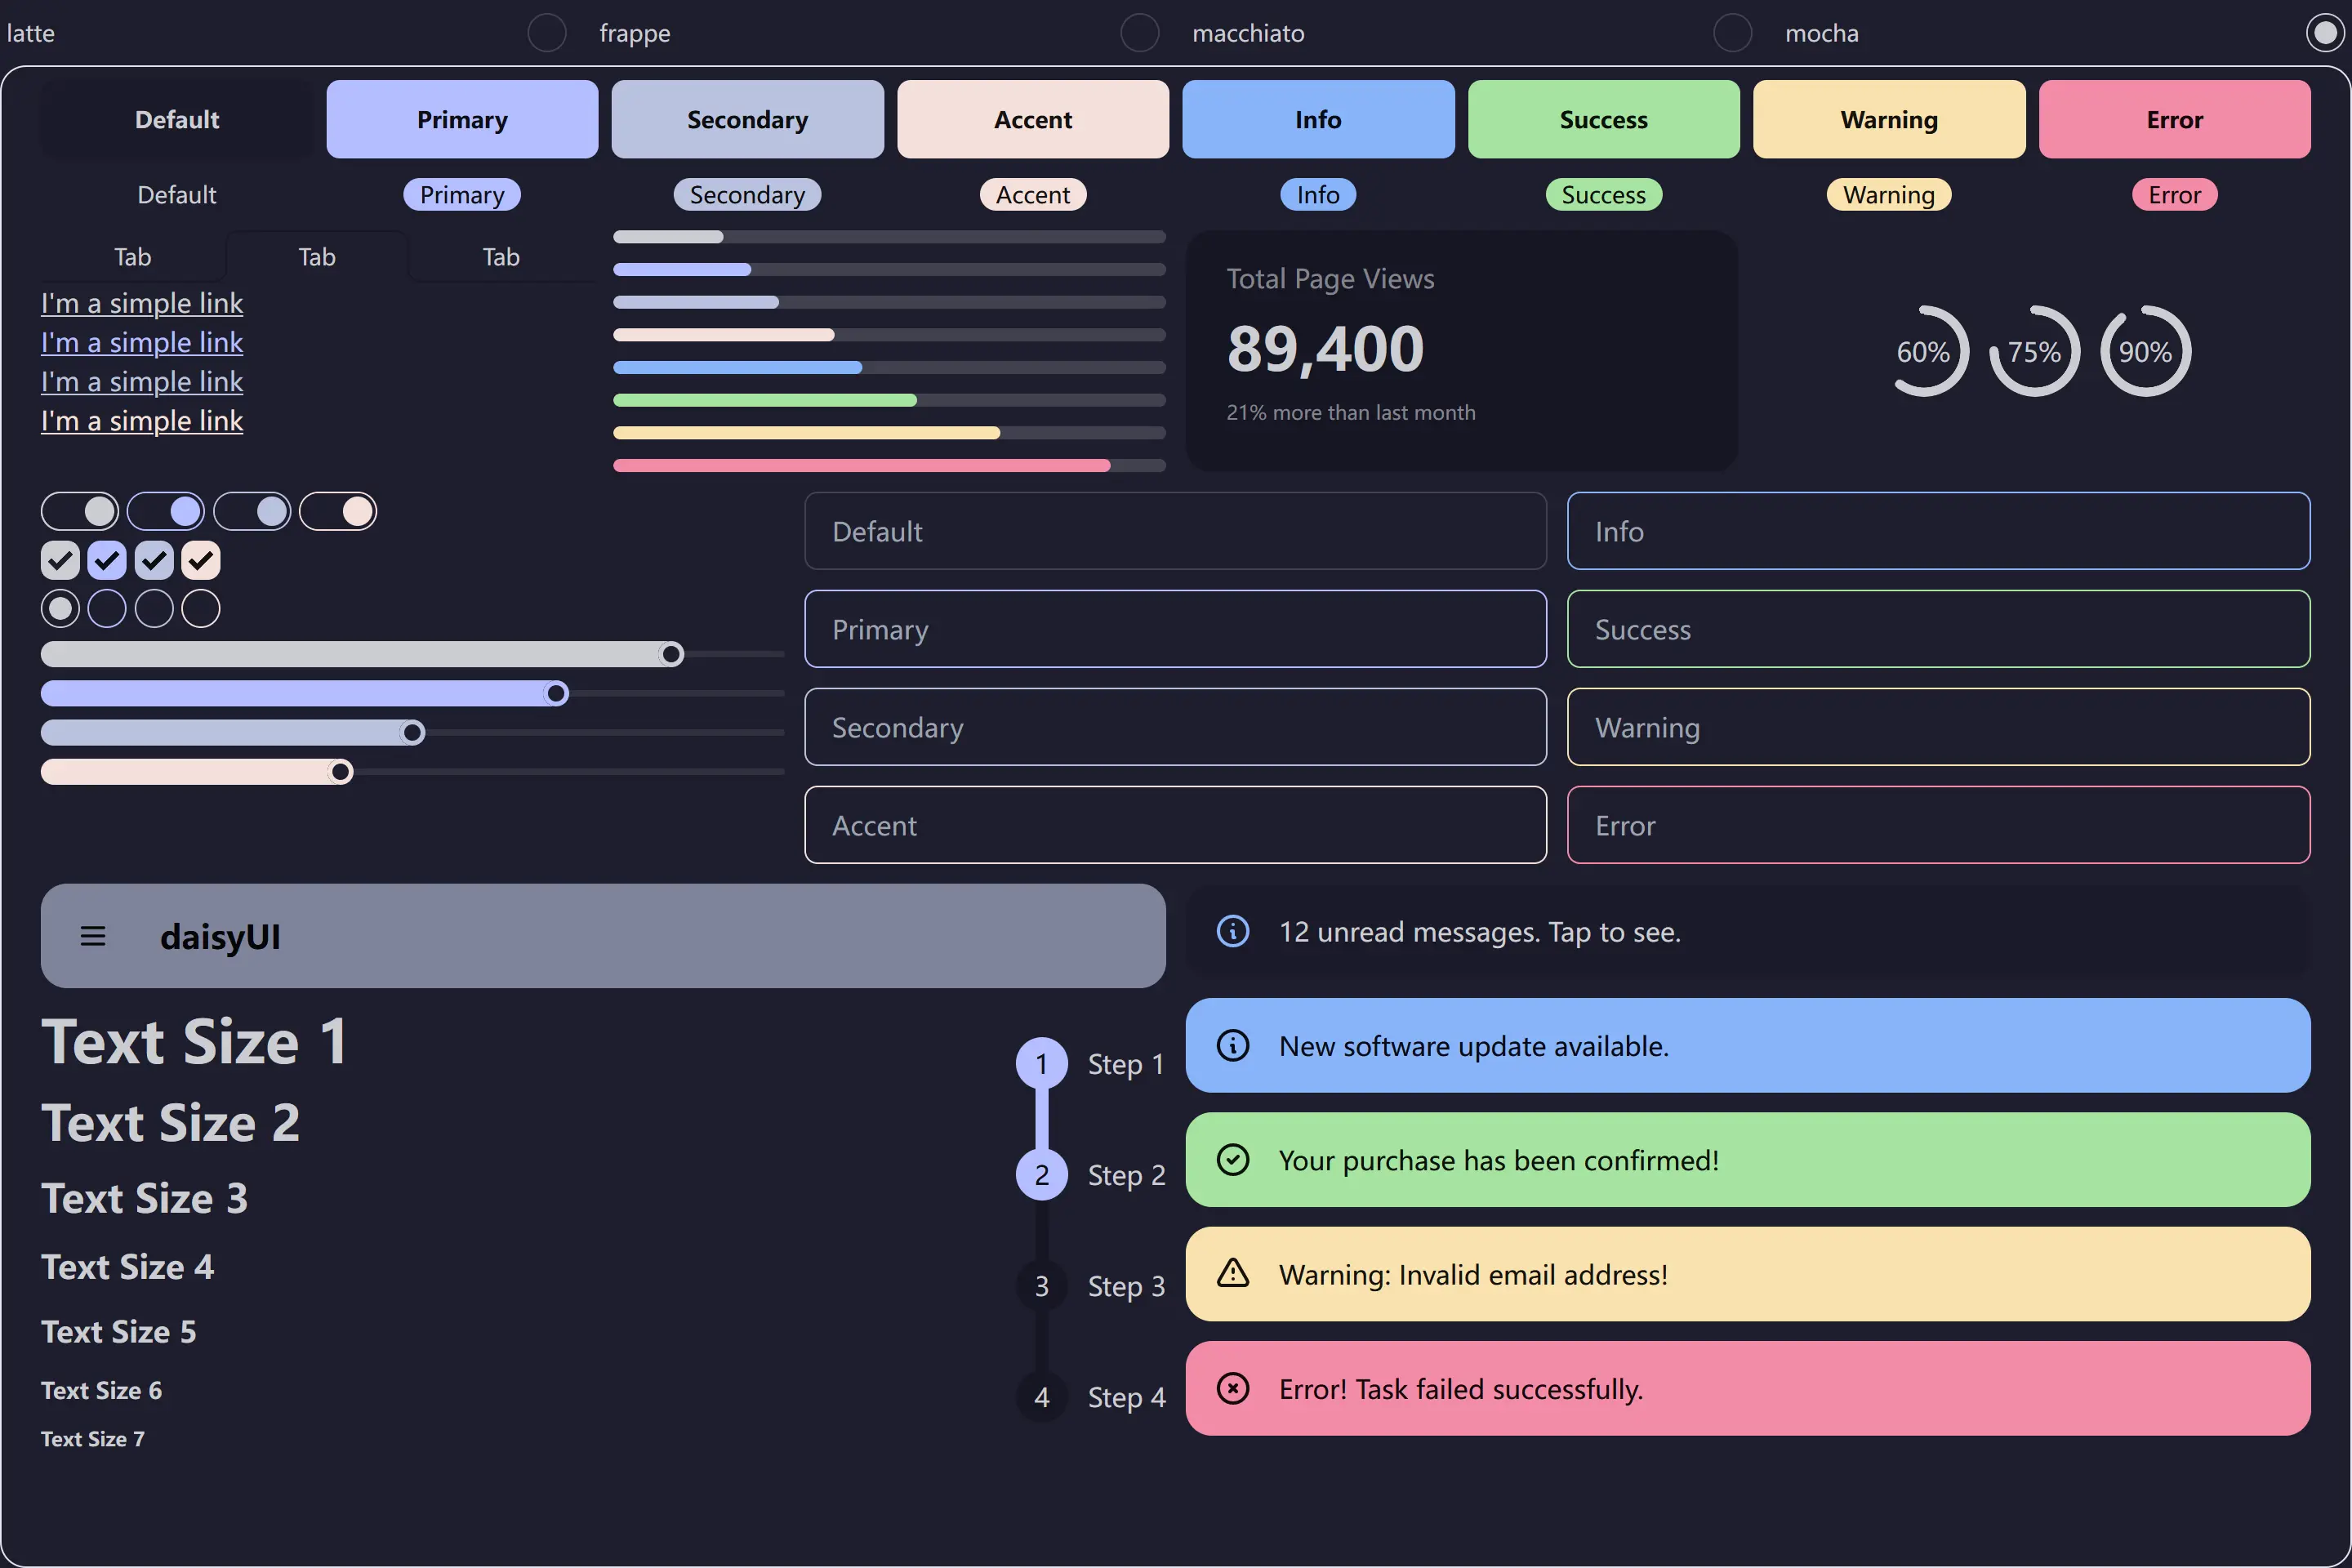
🌻 Latte
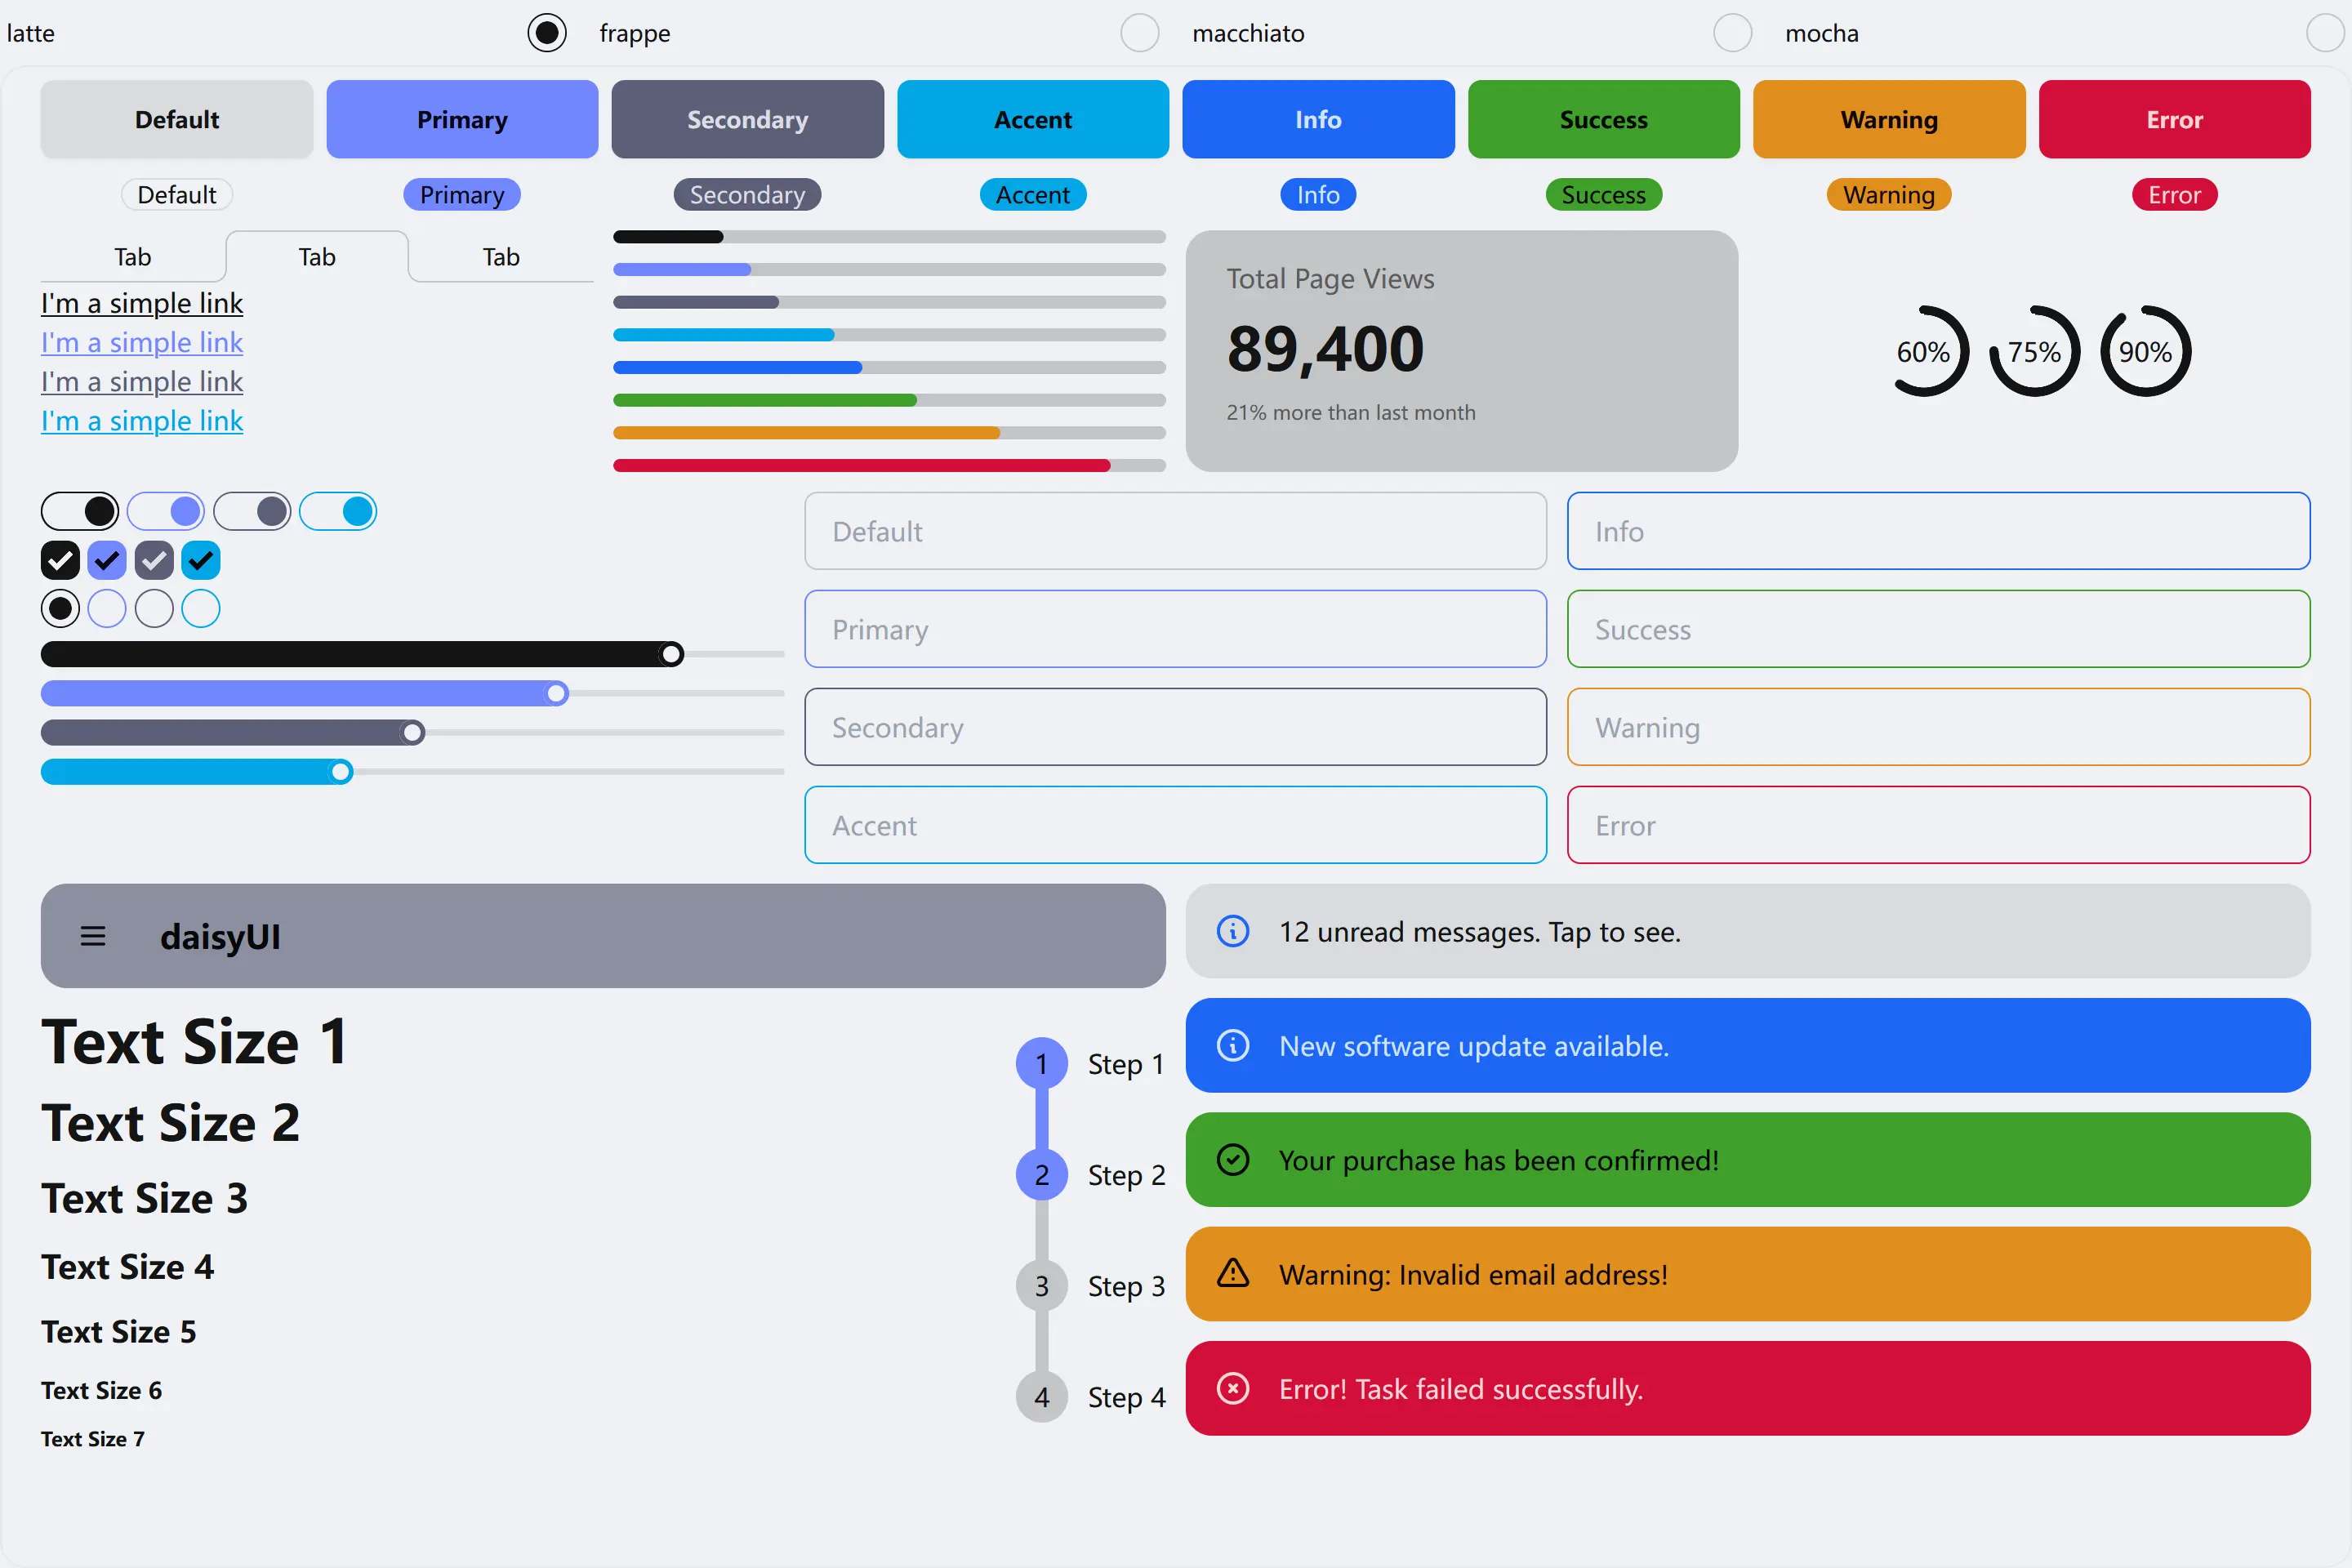
🪴 Frappé
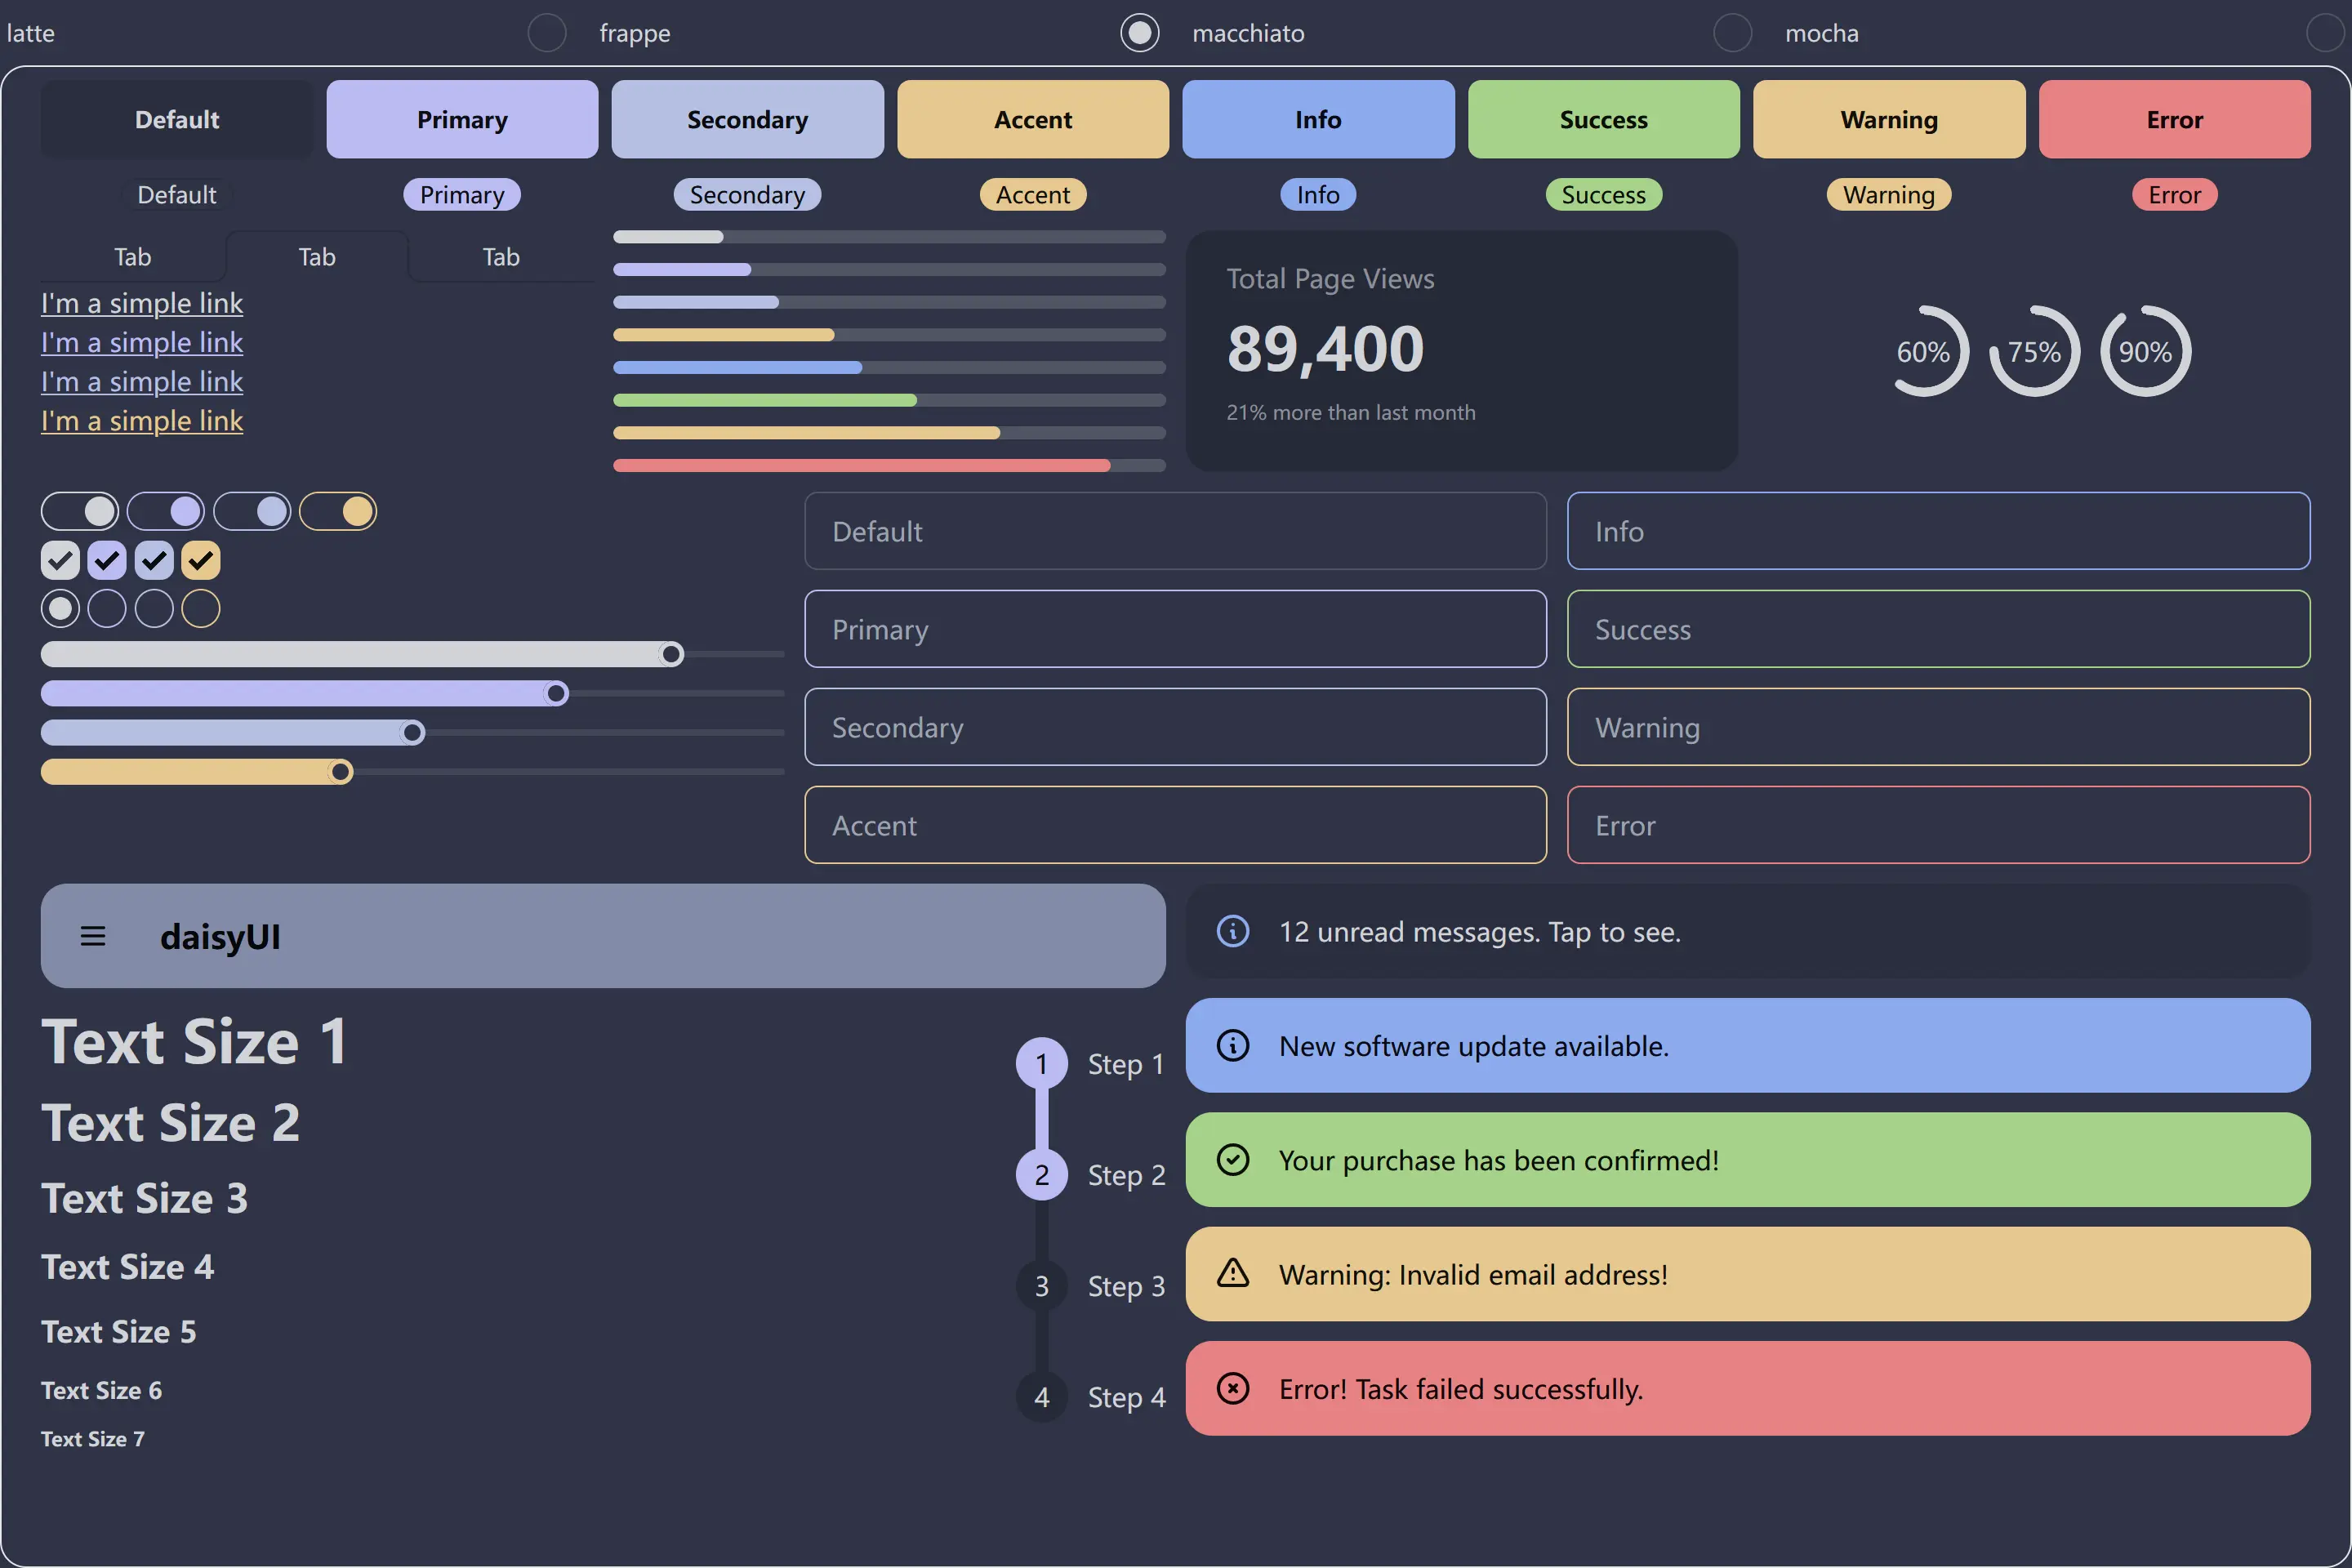
🌺 Macchiato
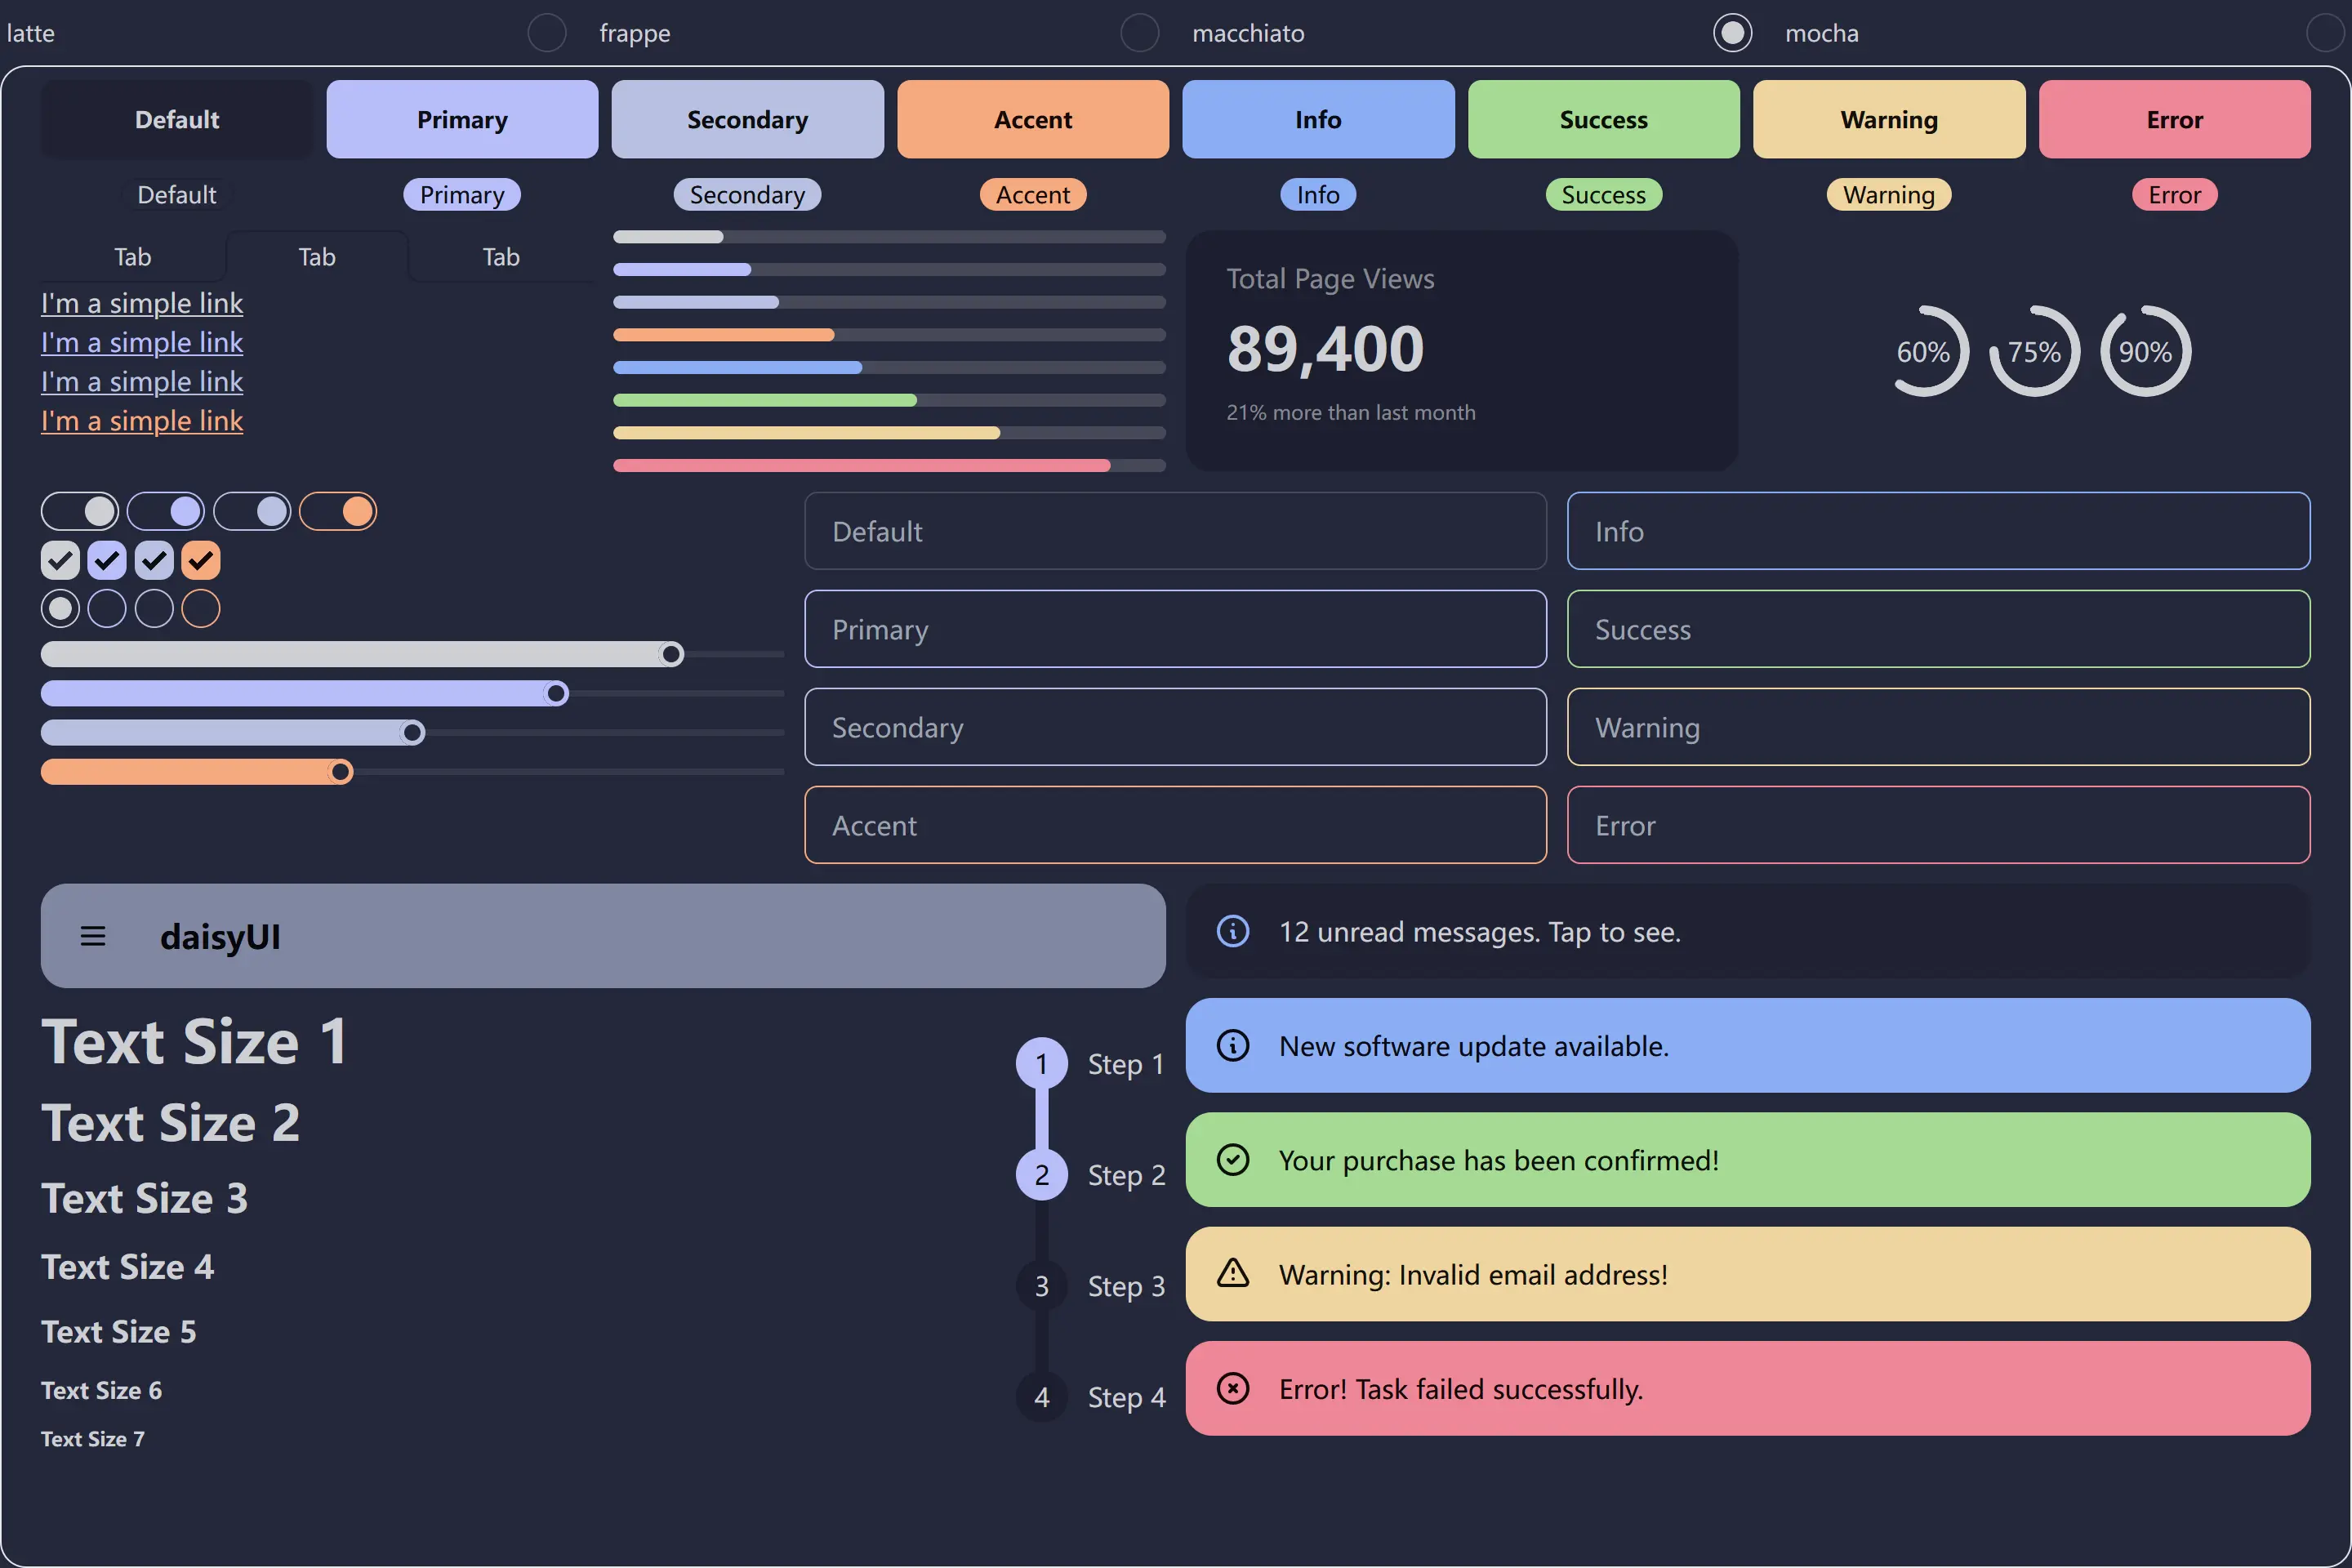
🌿 Mocha
| npm | pnpm | yarn |
|---|---|---|
| npm install -D @catppuccin/daisyui | pnpm add -D @catppuccin/daisyui | yarn add -D @catppuccin/daisyui |
-
Follow the installation instructions for Tailwind CSS and daisyUI
-
Create a separate file like
catppuccinTheme.latte.tsand import@catppuccin/daisyuiimport { createCatppuccinPlugin } from '@catppuccin/daisyui' export default createCatppuccinPlugin('latte')
You can view available values through your editor's type hints. Check example and source code for additional details.
-
Import the created file in your CSS configuration file
@import 'tailwindcss';
@plugin "daisyui" {
  themes: false;
}

@plugin "./catppuccinTheme.latte.ts";
@plugin "./catppuccinTheme.frappe.ts";
@plugin "./catppuccinTheme.macchiato.ts";
@plugin "./catppuccinTheme.mocha.ts";
Tip
For daisyUI v4, you can import required functions from @catppuccin/daisyui/legacy. For specific usage, refer to the previous guide.
Inspired by the CDN usage of daisyUI, I have separated each theme, allowing you to independently import a single theme or combine the themes you need. See:
<!-- some? -->
<link href="https://cdn.jsdelivr.net/npm/@catppuccin/daisyui@2/latte.css" rel="stylesheet" type="text/css" />
<link
  href="https://cdn.jsdelivr.net/combine/npm/@catppuccin/daisyui@2/latte.css,npm/@catppuccin/daisyui@2/frappe.css"
  rel="stylesheet"
  type="text/css"
/>
<link
  href="https://cdn.jsdelivr.net/combine/npm/@catppuccin/daisyui@2/latte.css,npm/@catppuccin/daisyui@2/macchiato.css"
  rel="stylesheet"
  type="text/css"
/>
<link
  href="https://cdn.jsdelivr.net/combine/npm/@catppuccin/daisyui@2/latte.css,npm/@catppuccin/daisyui@2/mocha.css"
  rel="stylesheet"
  type="text/css"
/>
<!-- every! -->
<link href="https://cdn.jsdelivr.net/npm/@catppuccin/daisyui@2/themes.css" rel="stylesheet" type="text/css" />You can use the following HTML to test the theme:
<div class="grid grid-cols-2 gap-2 md:grid-cols-4 lg:grid-cols-9">
  <button class="btn">Default</button>
  <button class="btn btn-neutral">Neutral</button>
  <button class="btn btn-primary">Primary</button>
  <button class="btn btn-secondary">Secondary</button>
  <button class="btn btn-accent">Accent</button>
  <button class="btn btn-info">Info</button>
  <button class="btn btn-success">Success</button>
  <button class="btn btn-warning">Warning</button>
  <button class="btn btn-error">Error</button>
</div>
You can find the example in the example folder.
- Try to add a
default: truedeclaration in the final options parameter when usingcreateCatppuccinPlugin, like this:
export default createCatppuccinPlugin('latte', {}, {
  default: true
})- Or you can add an active theme controller, such as one matched by the selector
input.toggle.theme-controller[type="checkbox"]:checked. - Or you can either add
data-theme="latte"to the root HTML element for global configuration, or use another client-side framework to control this attribute.
No, but you should still use the createCatppuccinPlugin option to control the default theme.

Copyright © 2021-present Catppuccin Org
