This codebase controls the map (including assets, bounding boxes and event triggers) for flavortown.
Flavor Town / Work Adventure loads the map from a URL, in our case, https://hackclub.github.io/flavorMap/ (hosted with github pages. Changes to the Repo are automatically applied)
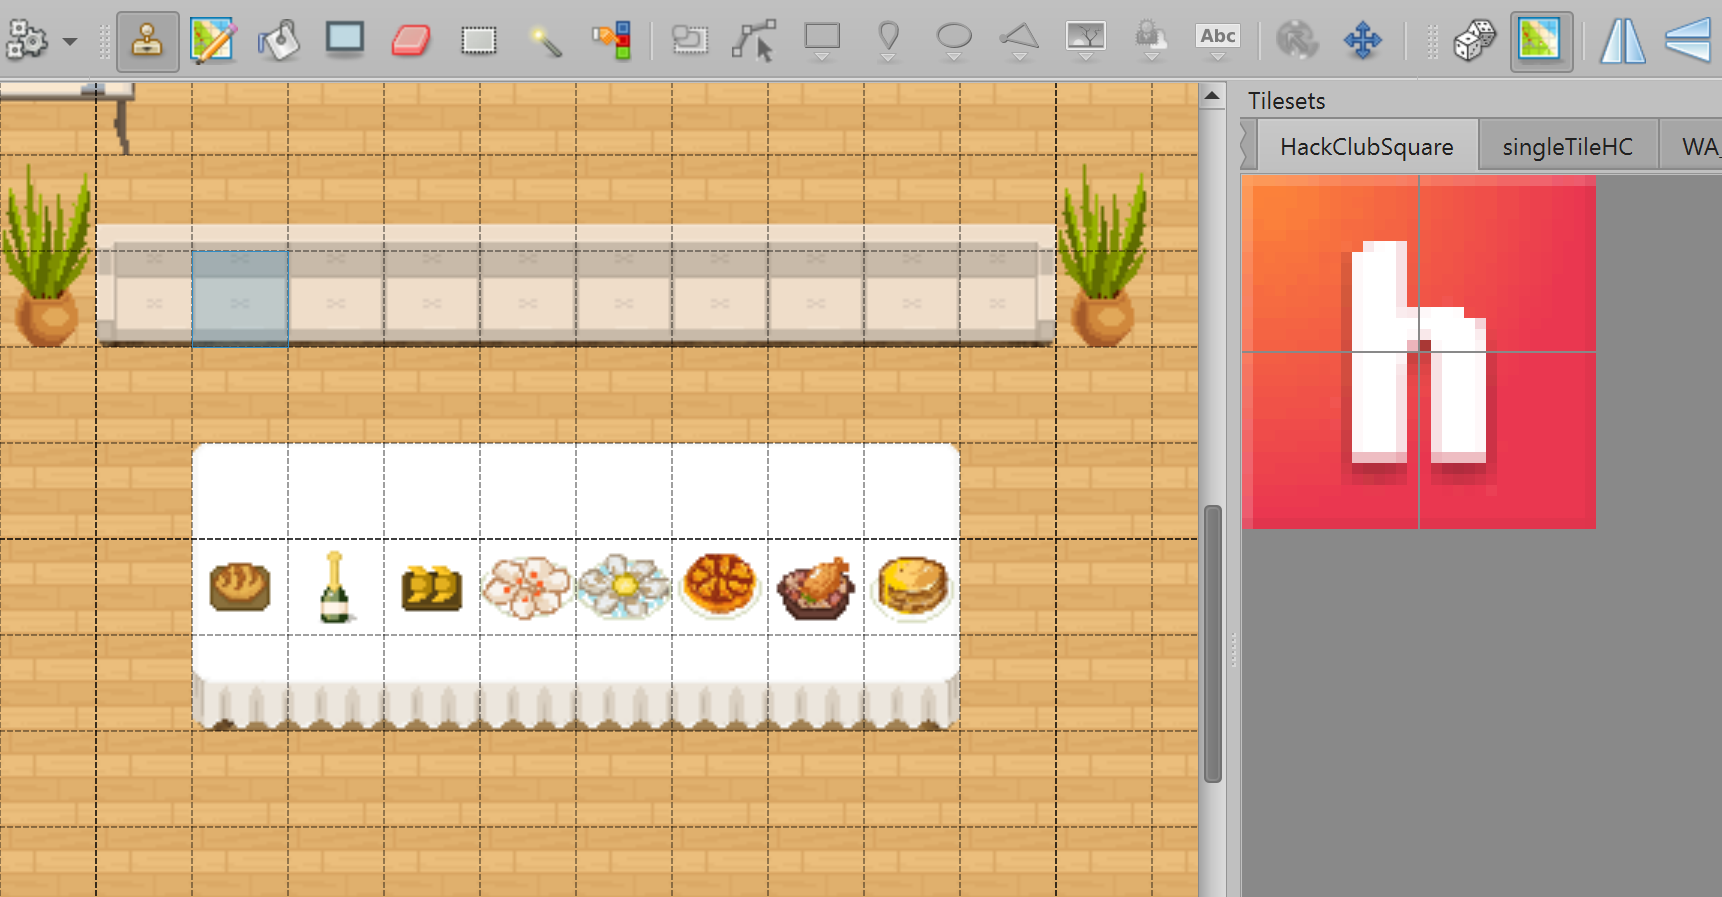
Eventually I intend to create a slack bot that will add custom assets into the map files. As of now feel free to PR. The map is in 32*32px, I recommend editing with the Tiled editor, as it handles tmj files well.
Work Adventure has good guidance on this: https://docs.workadventu.re/map-building/tiled-editor/.
For issues, questions or suggestions, DM me @EuanRipper on slack. (Don't tell me i pushed the .env, it is non sensitive!)
Currently FlavourTown run the office.tmj file. Clone this repo and open the office.tmj file in Tiled (make sure it is within this repo, not an isolated file.)
When adding in any external assets, be sure to add them to the public images in this repo and embedd the tileset into the map, this is important.
-If you make a change that invalidates information in this README, update this README.
-Always follow this file structure:
- public/: Static files like PDFs or audio files
- src/: Scripts files or design source files
- tilesets/: All PNG tilesets
-Your Pull request should include a screenshot of the change, along with a thorough explanation of changes made. It is very hard to identify changes made by looking at the files in code, and there isn't version history in Tiled -please describe what you have done properly!
Pro tips If you want to use more than one map file, just add the new map file in the root folder (I recommend creating a copy of office.tmj and editing it, in order to avoid any mistakes).
use 512x512 images for the map thumbnails. If you are going to create custom websites to embed in the map, please reference the HTML files in theinputoption in vite.config.js.
Node.js version >=17
With npm installed (comes with node), run the following commands into a terminal in the root directory of the project:
npm installThen, you can test your map by running:
npm run devYou can also test the optimized map as it will be in production by running:
npm run build
npm run prod
You can manually upload your map to the map storage by running:
npm run deployDo not violate the license agreements of WorkAdventure:
- Code license (all files except those for other licenses)
- Map license (
office.tmjand the map visual as well) - Assets license (the files inside the
src/assets/folder)
If you add third party assets in your map, do not forget to:
- Credit the author and license of a tileset with the "tilesetCopyright" property by etiding the tileset in Tiled.
- Add the tileset license text in LICENSE.assets.
- Credit the author and license of a map with the "mapCopyright" property in the custom properties of the map.
- Add the map license text in LICENSE.map.